Template Rendering in Rust using Askama [Part-3]
Introduction
This is a continuation of Part-2 where we added data to our music store and listed them. This is the last part of the tutorial where we will include functionality to edit and delete data in our music store.
Data Storage
Let's first add helper functions which will access the DB to update and delete data.
Add the below code to db.rs.
pub fn get_data_by_id(id: u64) -> Result<Option<Music>, MusicError> {
    let db = music_db_read()?;
    let music = db.get(&id).map(|music| music.to_owned());
    Ok(music)
}

pub fn update_data_in_db(id: u64, mut music: Music) -> Result<(), MusicError> {
    let mut db = music_db_write()?;
    music.id = id;
    db.insert(id, music);
    Ok(())
}

pub fn delete_data_from_db(id: u64) -> Result<(), MusicError> {
    let mut db = music_db_write()?;
    db.remove(&id);
    Ok(())
}
The get_data_by_id function gets data from DB for a given id.
The get function of HashMap returns a reference to the value of the given key.
Since we cannot return a value referencing the local variable in rust(check E0515 for more details), we return an owned value.
The update_data_in_db and delete_data_from_db functions will update and delete data from DB respectively.
Create Templates
Adding HTML files
We will extend index.html file to include add_music block.
Add the below edit_music.html file to the templates directory.
{% extends "index.html" %}

{% block add_music %}
<form action="{{ "/edit_music/{}"|format(music.id) }}" method="post">
  <div class="mb-3">
    <label for="songName" class="form-label">Song Name</label>
    <input type="text" class="form-control" id="songName" name="song" placeholder="Enter song name" value="{{ music.song }}">
  </div>
  <div class="mb-3">
    <label for="artistName" class="form-label">Artist Name</label>
    <input type="text" class="form-control" id="artistName" name="artist" placeholder="Enter artist name" value="{{ music.artist }}">
  </div>
  <div class="mb-3">
    <label for="genre" class="form-label">Genre</label>
    <input type="text" class="form-control" id="genre" name="genre" placeholder="Enter genre" value="{{ music.genre }}">
  </div>
  <button type="submit" class="btn btn-primary">Edit Song</button>
</form>
{% endblock %}
The above form displays data of the selected music record using value attribute.
Users can edit the data of the selected music. On submission update_music function will be triggered.
Http handlers
Now let's add functions to edit and delete our music records in http_handlers.rs.
#[derive(Template)]
#[template(path = "edit_music.html")]
pub struct EditMusicPage {
    music: Music,
}

pub async fn edit_music(id: web::Path<u64>) -> Result<EditMusicPage, MusicError> {
    let music = get_data_by_id(id.into_inner())?
        .ok_or_else(|| MusicError::from("Music for id {id} doesn't exist in DB".to_string()))?;
    Ok(EditMusicPage { music })
}

pub async fn update_music(id: web::Path<u64>, data: web::Form<Music>) -> Result<web::Redirect, MusicError> {
    update_data_in_db(id.into_inner(), data.into_inner())?;
    Ok(web::Redirect::to("/list_music").see_other())
}

pub async fn delete_music(id: web::Path<u64>) -> Result<web::Redirect, MusicError> {
    delete_data_from_db(id.into_inner())?;
    Ok(web::Redirect::to("/list_music").see_other())
}
The edit_music function uses web::Path to extract the id from the request URL.
The function gets music record from our DB for a given id and renders edit_music.html.
If no data is present in DB for a given id, we return an Error.
If data is present in DB for the given id, an HTML form will be displayed with pre-filled values of the selected music record.
The user can edit the required fields. On submission, update_music function is called that deserializes the form data to Music and updates data in the DB.
After adding data to the DB we will redirect user to the list music page.
The delete_music function will delete data from DB and redirect the user to the list music page.
Let's configure routes in main.rs
fn routes(service_config: &mut ServiceConfig) {
    service_config
        .route("/", web::get().to(welcome))
        .route("/list_music", web::get().to(list_music))
        .route("/add_music", web::get().to(add_music))
        .route("/add_music_to_db", web::post().to(add_music_to_db))
        .route("/edit_music/{id}", web::get().to(edit_music))
        .route("/edit_music/{id}", web::post().to(update_music))
        .route("/delete_music/{id}", web::get().to(delete_music));
}
Build and run the project to start the server.
cargo run
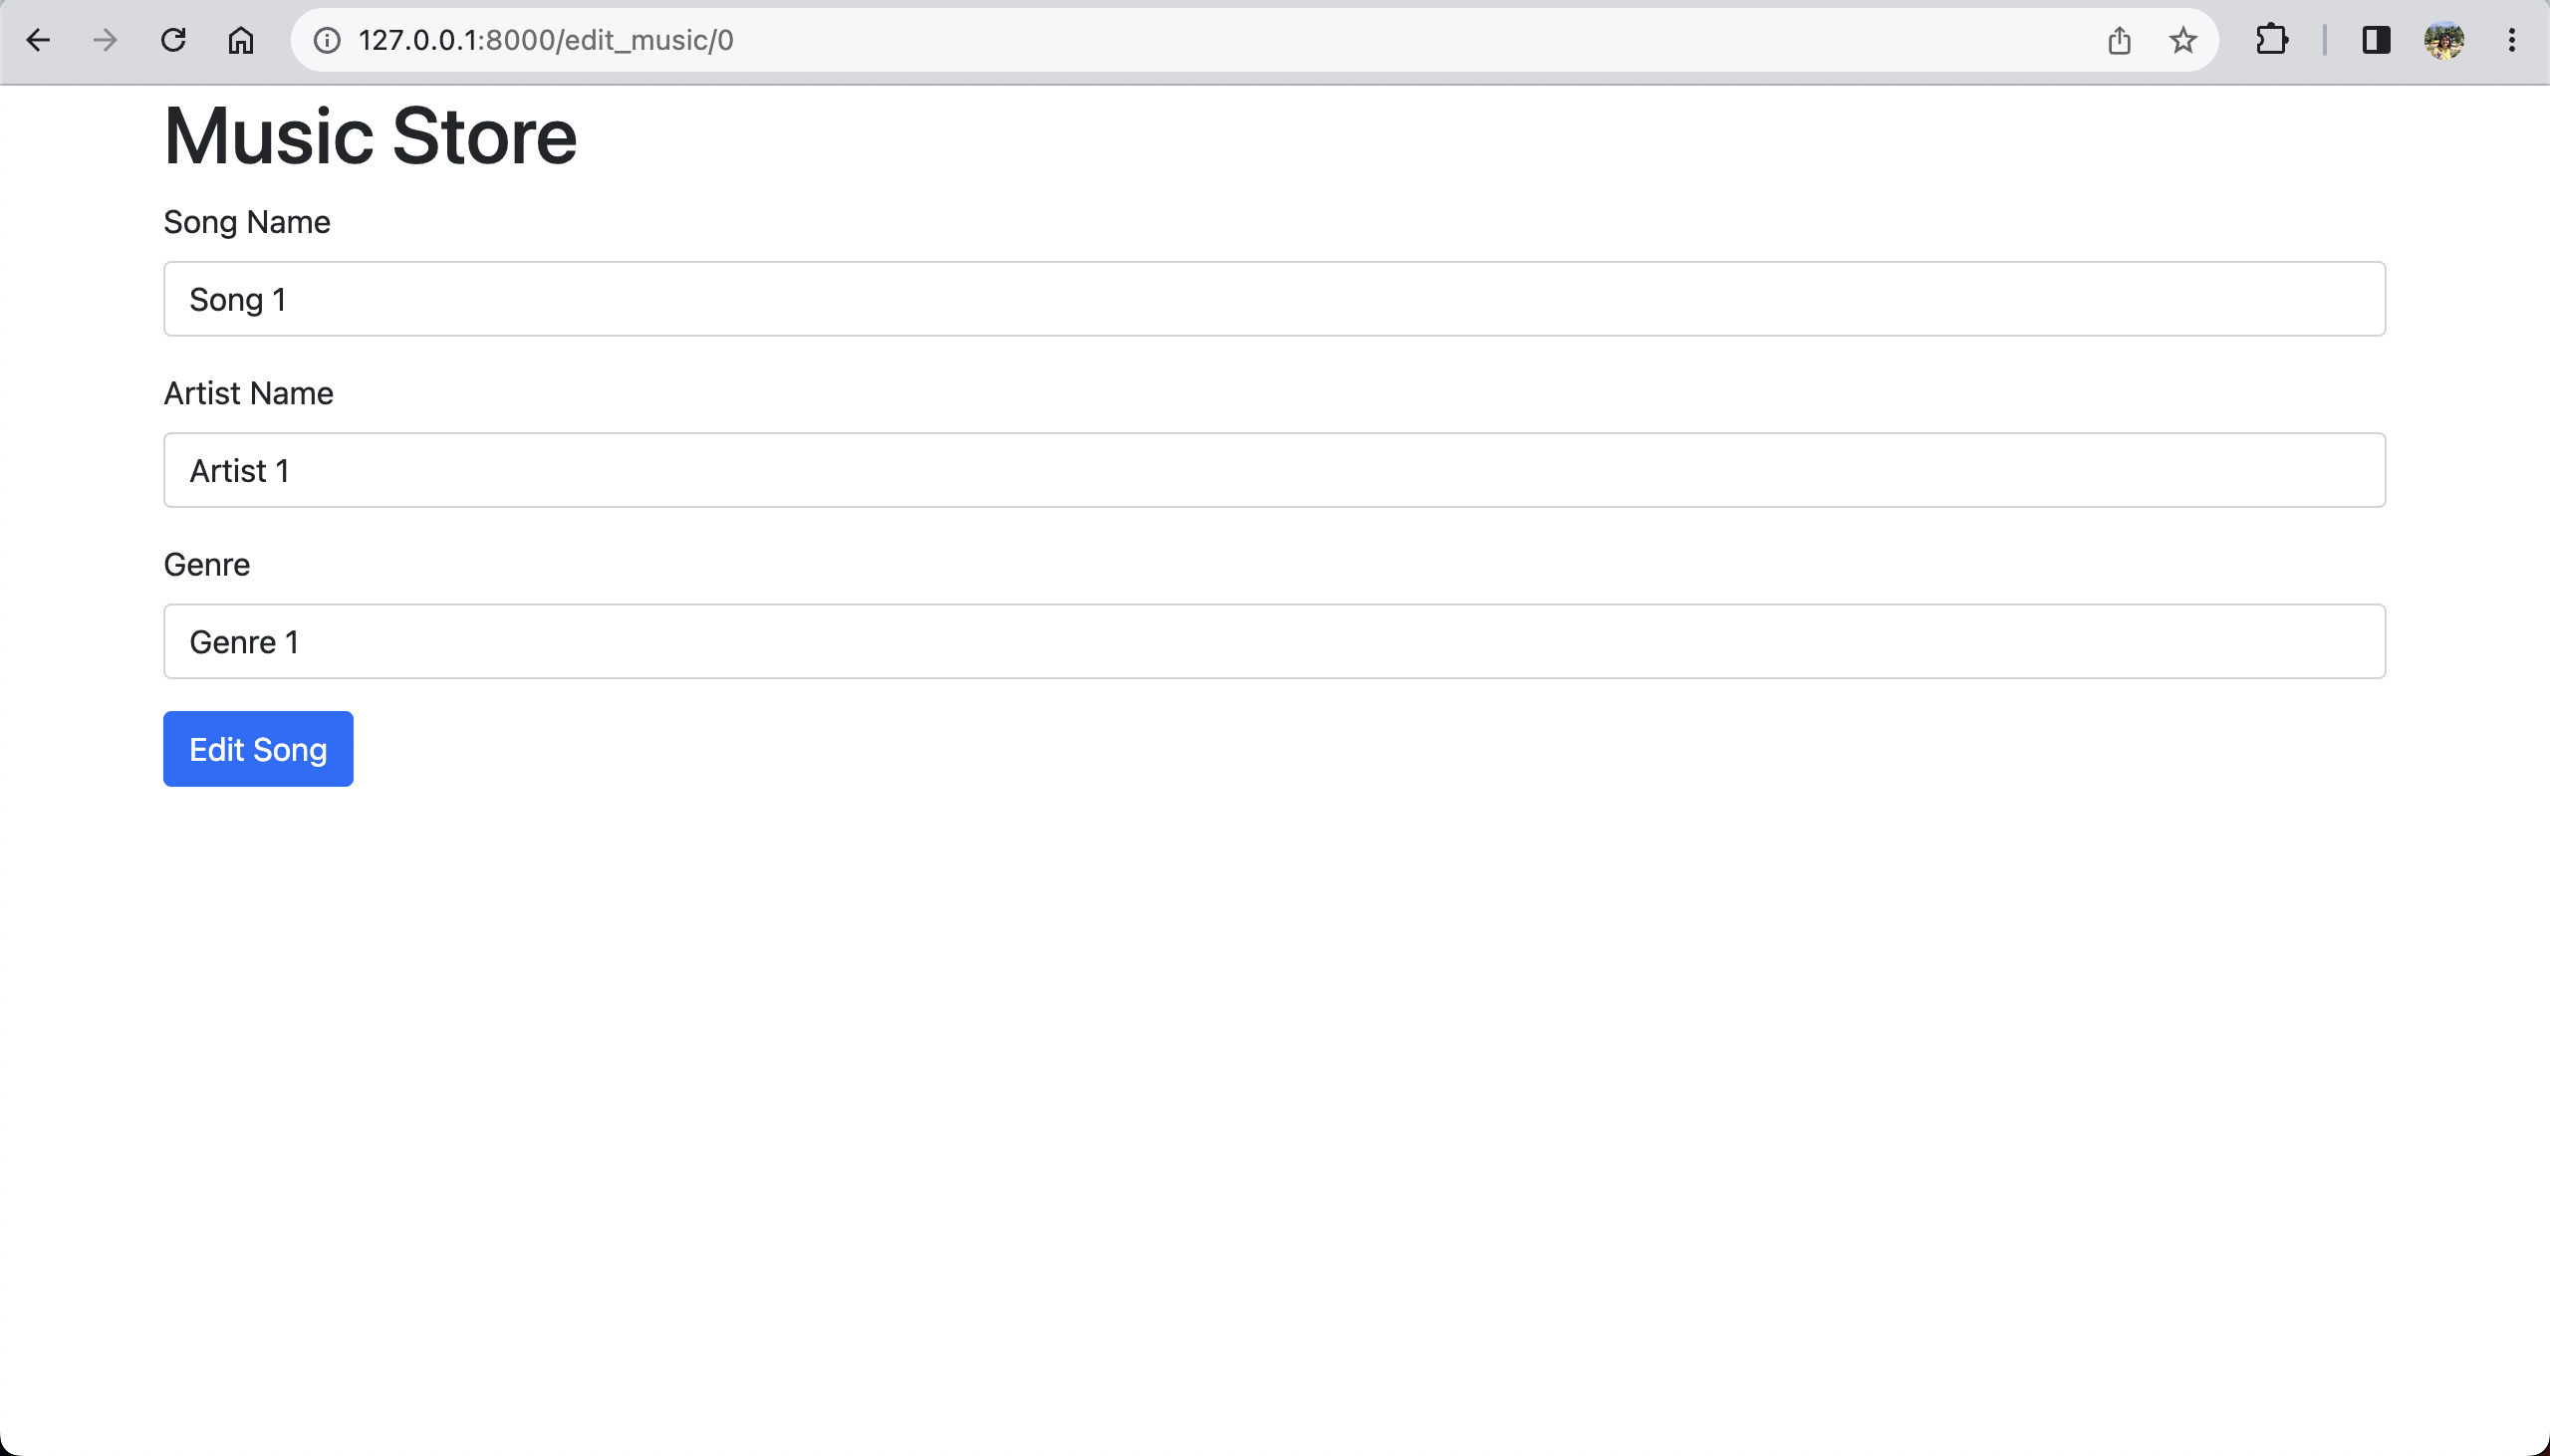
After adding some music at http://127.0.0.1:8000/add_music, you will be able to edit records by clicking on the edit button. The edit page will look like this
After successfully updating the data, you will be redirected to http://127.0.0.1:8000/list_music
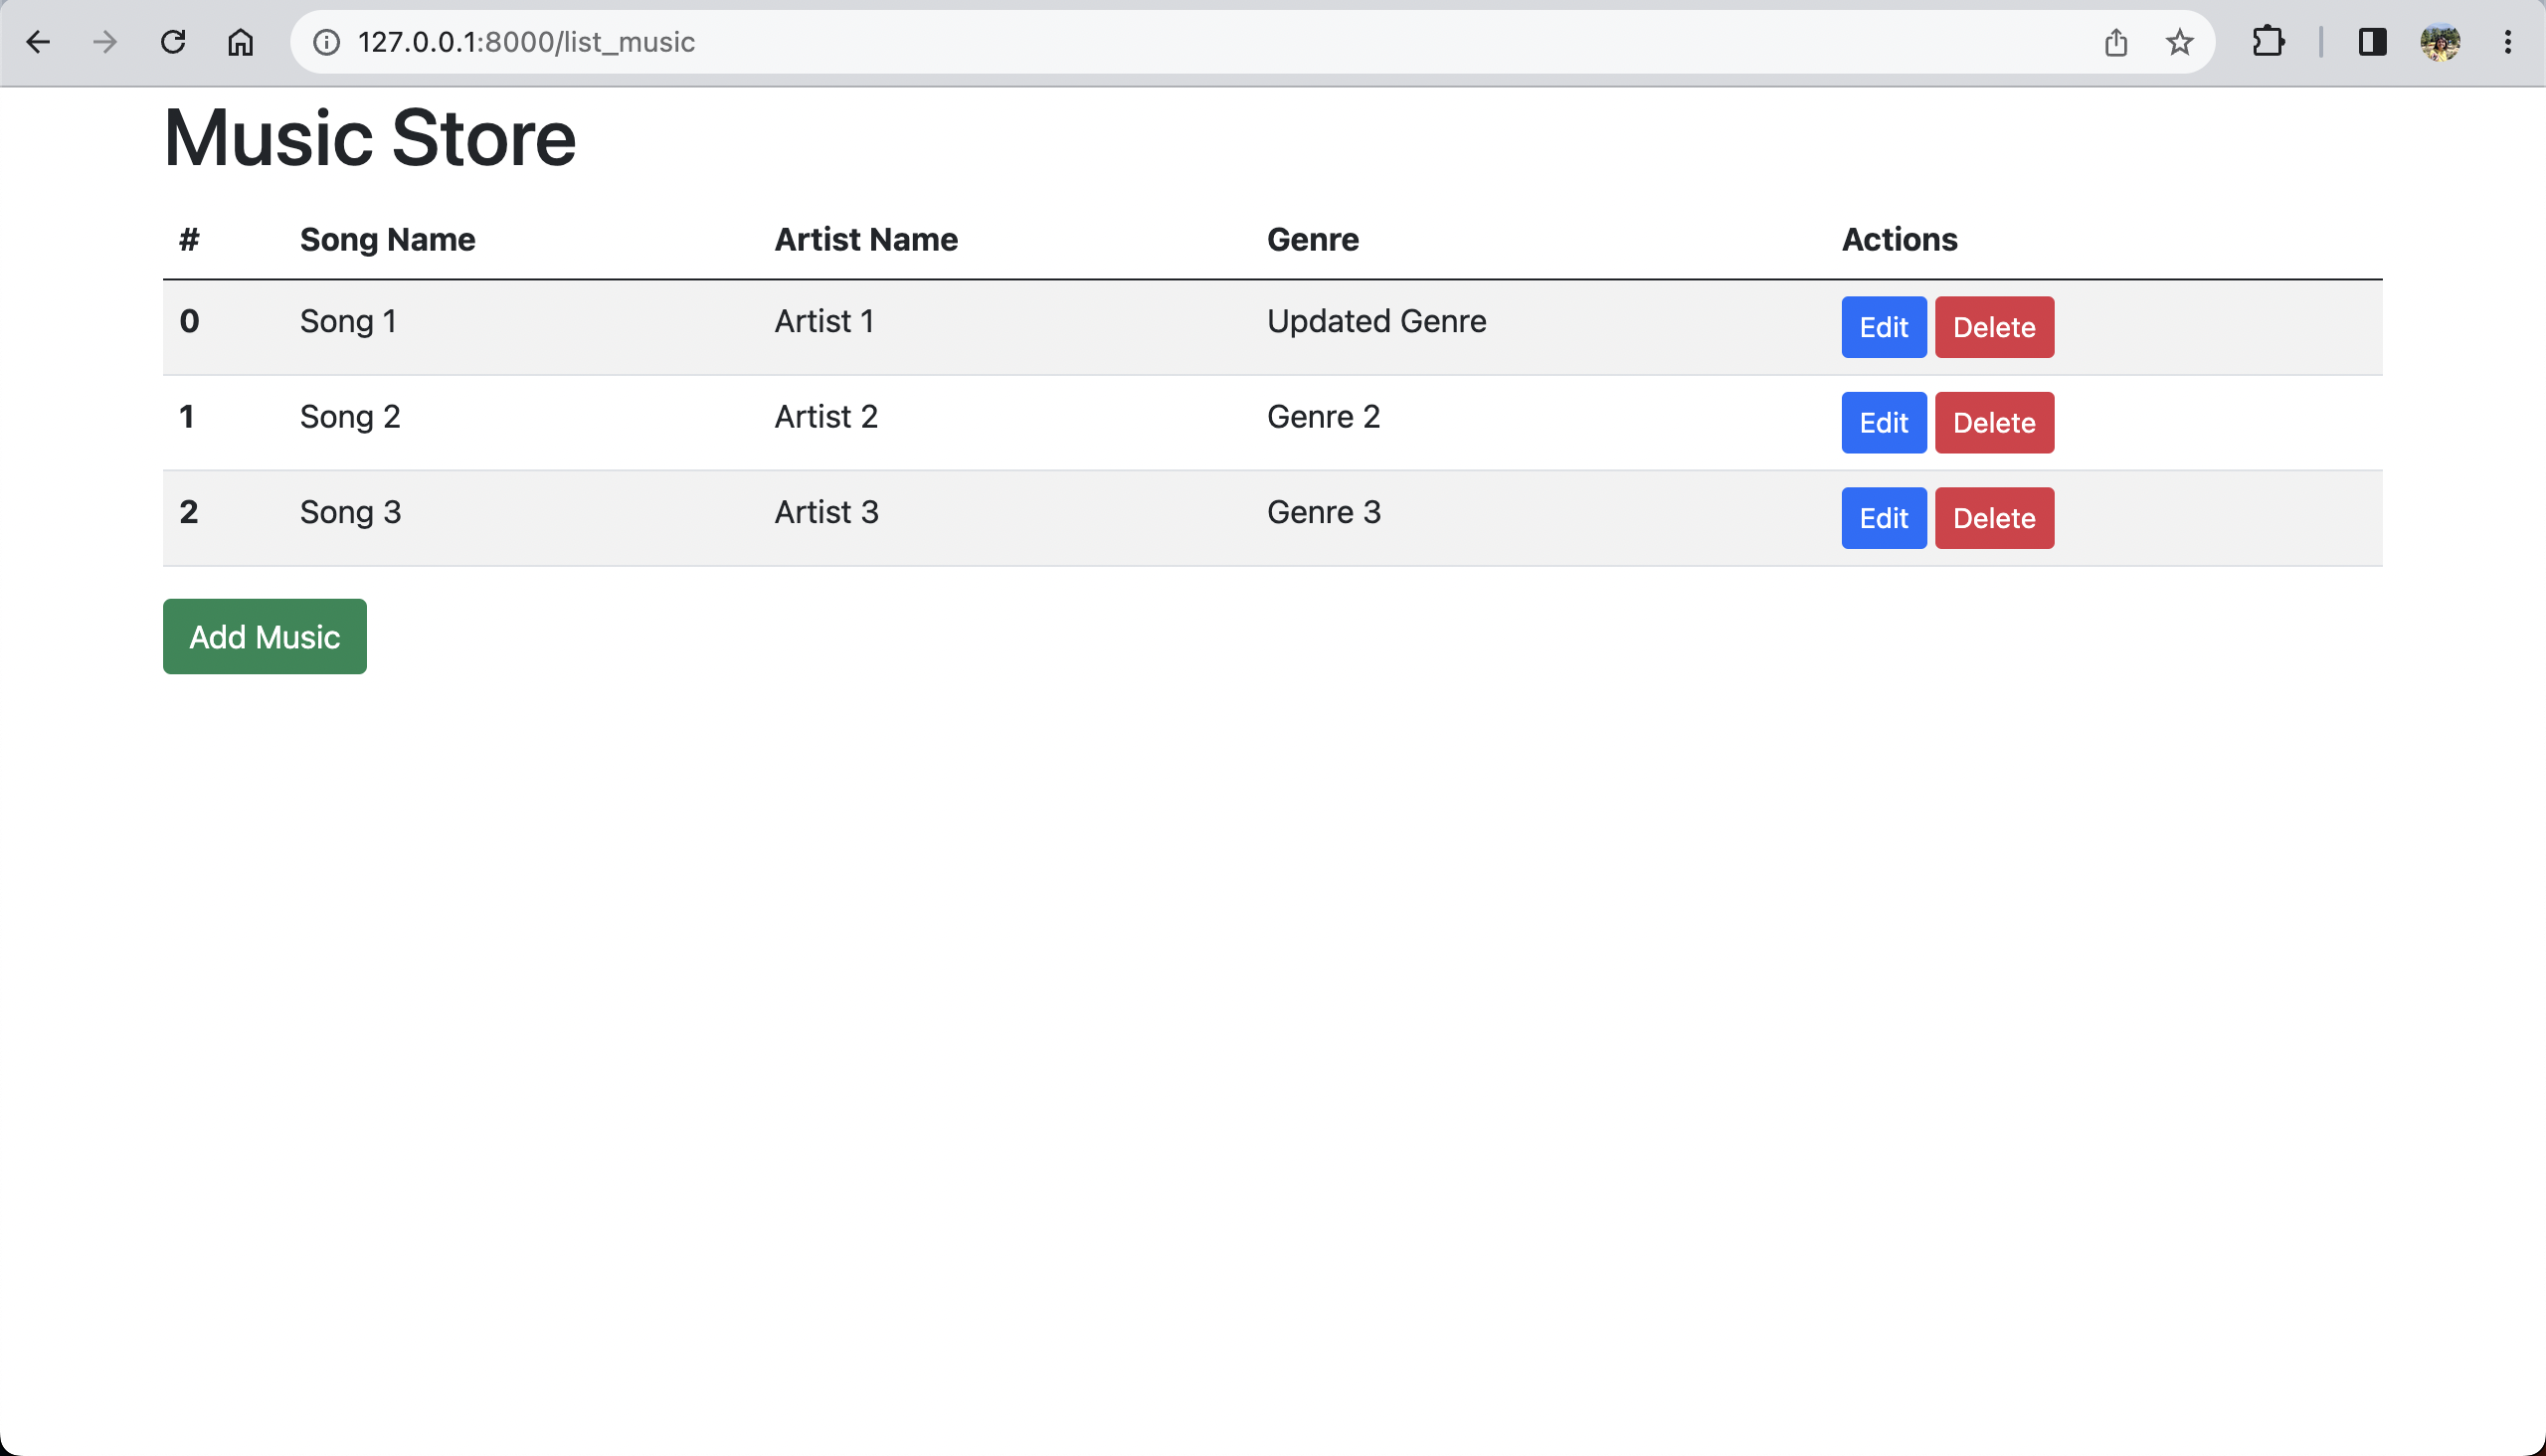
You can also delete records by clicking on the delete button of the record.
View the full code of this tutorial on GitHub.
Conclusion
In this tutorial, we explored the usage of Askama library by building a simple web application using actix-web. You can go through the official documentation of Askama here and check out all the available features.
Happy coding! 😀